This guide contains the instructions on how to set up our default connectivity approach - wired with a static IP address
Make sure that the printer is set up for “Wired Setup” and not “Wifi Setup”:
Wired Setup✅
Wifi Setup❌

Our satellites are configured to support printers automatically being connected. However, we have seen that this automation can cause occasional connectivity issues where a printer is stuck with a wrong IP address, and so won’t work.
We therefore suggest that all printers using our default connectivity approach should be given a static IP address. This can be done at any time and requires no further satellite or software changes. Making this change should ensure a more robust connection between the satellite and the printer.
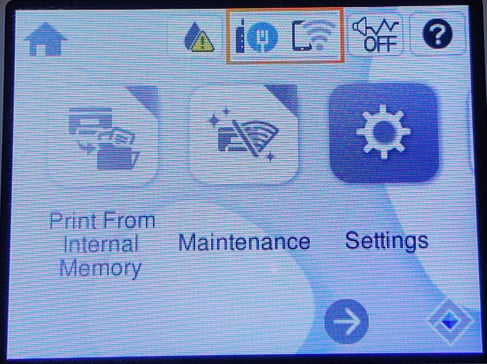
To change the network settings you must navigate through the menus as follows:
- Settings
- General Settings
- Network Settings
- Advanced
- TCP/IP
On the TCP/IP page you need to make the following changes
- Obtain OP Address ->
Manual - IP Address ->
192.168.42.101 - Subnet Mask ->
255.255.255.0 - Default Gateway ->
192.168.42.100 - DNS Server ->
Manual - Primary DNS ->
192.168.42.100 - Secondary DNS ->
8.8.8.8 - Hit the Start Setup button
Now, back on the home page of the printer, you should confirm the IP address from the Network Connections Summary at the top:


