A guide to the initial setup of older Penny Black v1 Satellites with Epson inkjet printers
This page is for legacy Raspberry PI Satellites (version 1). For the latest hardware install guide see Understanding the Penny Black Hardware.
What is the Rasperry Pi Satellite?
Part of the Penny Black hardware set-up includes a Satellite. The satellite is a Raspberry Pi - a small, affordable computer about the size of a credit card - and comes in a case.


Connections
The Satellite(s) will be connected to:
- Your warehouse's network either via Wifi or Ethernet cable.
- A power outlet
- The printer via an Ethernet cable connected to a USB-to-Ethernet Adaptor


Connection overview
-png.png?width=398&height=443&name=Screenshot%202024-03-20%20at%2010-17-17%20(1)-png.png)
Materials![]()
%20(1)-png.png?width=688&height=387&name=1%20(1)%20(1)-png.png)
How to set up the hardware
- Plug in the satellite power supply (2) to the satellite (1)(usb-c)
- Plug in the USB-to-Ethernet adaptor (3) in the BLUE usb port (1)
- Plug in the Ethernet network cable (4) to the adaptor (3)
- OPTIONAL - Plug in the long network cable (5)(ethernet setups) to the satellite (1)
- Plug in Printer + Satellite (1) to power supply and press the switch on button of the printer
- Plug-in satellite ethernet cable (4) to your printer
- OPTIONAL - Plug in the long ethernet cable (5) to your internet access port
Network Setup
Make sure that the printer is set up for “Wired Setup” and not “Wifi Setup”:
Wired Setup✅
Wifi Setup❌

Our satellites are configured to support printers automatically being connected. However, we have seen that this automation can cause occasional connectivity issues where a printer is stuck with a wrong IP address, and so won’t work.
We therefore suggest that all printers using our default connectivity approach should be given a static IP address. This can be done at any time and requires no further satellite or software changes. Making this change should ensure a more robust connection between the satellite and the printer.
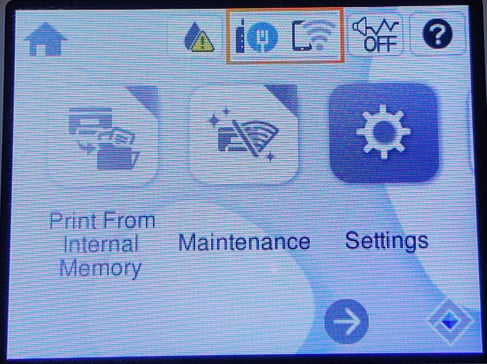
To change the network settings you must navigate through the menus as follows:
- Settings
- General Settings
- Network Settings
- Advanced
- TCP/IP
On the TCP/IP page you need to make the following changes
- Obtain OP Address ->
Manual - IP Address ->
192.168.42.101 - Subnet Mask ->
255.255.255.0 - Default Gateway ->
192.168.42.100 - DNS Server ->
Manual - Primary DNS ->
192.168.42.100 - Secondary DNS ->
8.8.8.8 - Hi the Start Setup button
Now back on the home page of the printer, you should confirm the IP address from the Network Connections Summary at the top:


