A guide to triggering Penny Black prints in Mintsoft via our Chrome extension
Introduction
See the introductory guide on downloading and installing this in your web browser.
Configuration
Once installed, choose Mintsoft as your Fulfilment system. Enter the API Key and Print Location Name as per the introductory guide.

System URL
This is only necessary if you are using Mintsoft on your own domain. By default, we support Mintsoft at https://om.mintsoft.co.uk/ and https://mintsoft.accessacloud.com/ without any additional configuration. If you are using Mintsoft on any other domain, you must enter it here.
Merchant Fulfilment ID
This is only necessary if you need to print orders one by one via the success dialog and are not filtering the page by the merchant name (see triggering options below).
For all other print triggers the Merchant ID will be pulled automatically from the page and does not need to be configured, similar to the example below:
Whilst in most cases you do not need to enter this into the Chrome Extension, you will need to ensure this is entered into the Penny Black apps for each merchant you are printing for.
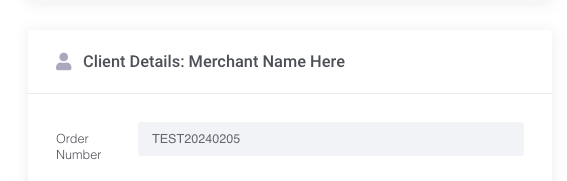
It can also be seen and found on the Order Details page. It's usually the Client ShortName:

Automatic Printing
The extension can print automatically for single print mode, which is recommended.
There is no automatic printing for batches, even if ticked it will not apply for this method. Triggering printing from a success dialog is already automatic, so ticking this option will have no impact.
Remove order number prefix
If orders in the WMS are prefixed with a set of characters that do not match the order numbers from your e-commerce platform, you can specify this prefix here and it will strip this prefix when requesting a print from Penny Black.
Add order number prefix
This allows you to specify a new prefix to prepend to order numbers when prints for these orders are requested from Penny Black.
Trigger from success dialog
For when Mintsoft is configured to bypass the Scan Actions and Barcode Verification pages for ‘despatching’ orders. In this case, the only visual feedback is a green success dialog at the top of the screen and you need to tick this option (see more below).
Single printing
Printing orders one by one is designed to be automatic, so that no additional operator interaction is required, with a manual button as a fallback. However, prints can also be triggered manually if preferred.
There are 3 different pages and approaches to triggering single prints, you should use whichever matches your configured Mintsoft packing flow - check which page you are on when an order is being processed:
- Barcode Verification page - reached after scanning a tote or product barcode from the Order Pick & Pack page
- Scan Actions page - Alternative destination after scanning a tote or product
- Order Pick & Pack page success dialog - If you bypass both of the above pages and only see a green success dialog at the top of the Order Pick & Pack page.
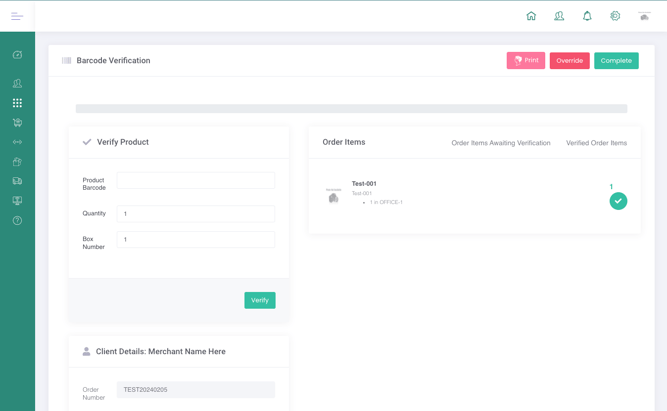
Printing from the Barcode Verification page
This page will look and behave slightly differently based on whether you are using Automatic Printing (which we recommend for minimum operator interaction).
With Automatic Printing disabled in the configuration, you will see a pink Print button in the top-right corner of this page. This button will be disabled with a tooltip shown when you hover over it if a print isn't possible or not required.
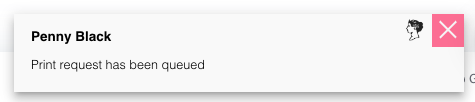
After clicking for a Print, you will see a popup message in the bottom-right corner indicating the result.
With Automatic Printing enabled, a print for a merchant configured to use Penny Black will automatically be triggered as soon as this page is loaded. This is intended to minimise the wait time for printing and have minimal impact on the packer process.
You will not see a success message with automatic printing (as this would just be an extra box to click to dismiss on an otherwise hands-off process), but you will see any error messages.
To prevent undesired duplicate prints, the automatic print requests will only print an order once. If you revisit this page for an order that has already been printed it will not print again automatically. There is a fallback Reprint button for this purpose though

This button will be disabled with a tooltip if a print is not required. This is also useful for packers to know when automatic printing is happening and not to expect a print:

Printing from the Scan Actions page
Prints can also be triggered from the Scan Actions page and work in the same way.
With Automatic Printing enabled the order will be printed the first time only as soon as this page is loaded. The Reprint button is available if necessary, and it will be disabled with a tooltip if printing is not required for this order.
With Automatic Printing disabled you will need to manually click the Print button instead.


Automatic printing from the Print Success dialog
The third method of triggering a single print is when Mintsoft is configured to bypass both of the above screens. In this scenario, you remain on the Order Pick & Pack screen and the only indication that the order has been processed is a confirmation dialog shown at the top.
If this is how your Mintsoft is configured then you must enable support specifically for this approach in the extension configuration (do not enable it otherwise as it could trigger prints at undesired times):
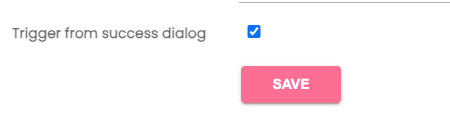
Once ticked, this will enable Penny Black prints when the following green confirmation dialog is displayed:
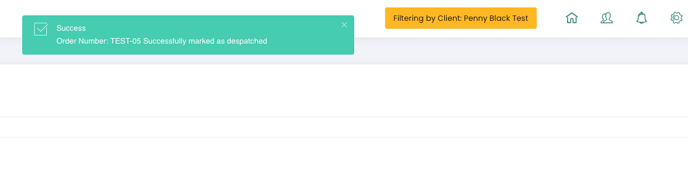
If you fulfil for multiple merchants in your warehouse then you must filter by the client as shown above, otherwise we do not know which merchant to attempt to print for.
If you are using Penny Black for only a single merchant then you can configure this directly as the Merchant ID in the extension configuration (see the Configuration section above).
As per the other printing methods, we will show a message dialog when attempting to print on the bottom-right corner. This dialog will fade away after a few seconds in the case of success, errors will remain on screen until you dismiss them.
Batch printing
We can trigger prints in batches from the View Batch page, this is suitable for batch packing workflows.
Acquiring a Mintsoft API key
To be able to batch print you must provide the Penny Black team with a Mintsoft API Key. The print button will still be visible without it, but printing won’t be possible.
An API Key is connected to a user, so a new user should be added to your Mintsoft instance, identified as Penny Black so that you know what it’s for. We do not need access to Mintsoft itself, just the API key, so you can either use an email address of your own internally or add us if you prefer engineers@pennyblack.io .
Once an account is created, we can create the API key using the login credentials for this new account.
After the API key has been created, you need to set it as static. These next steps need to be completed by someone with Warehouse admin privileges:
- Go to Settings then either Warehouse User Accounts or Client User Accounts
- Search for the user that needs a static API Key
- Click Actions then Set API Key to Never Expire.
Note: If you cannot see the API Key column on the account page please click on the Column Visibility dropdown in the middle of the page and add it from there.
Printing flow
Once this has been set, you can trigger a batch print from the View Batch page shown below:
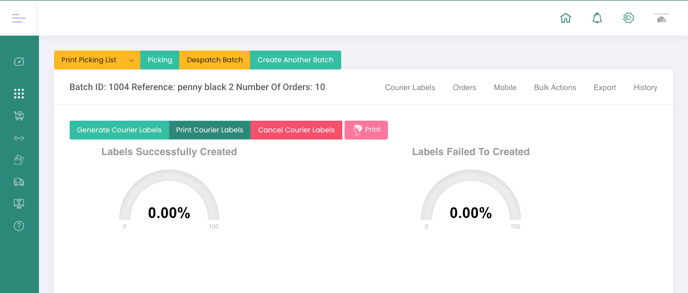
There’s no automatic printing on this page, you have to click the button.
Tagging Orders for identifying orders that need to be printed
Sometimes it's helpful to know which orders require a Penny Black print so that you can pick them together and pack them at an appropriate location.
Penny Black can tag orders in Mintsoft shortly after generating their PDF to help. Every order that requires printing will get Penny Black Insert tag added.
To turn this on please contact our support team, and you must provide us with an API key as per the above instructions for batch printing.